It has been a REALLY long time since I updated my blog =( It's not that I haven't been crafting, but somehow I just haven't found the time to actually upload any of my creations. Maybe it's because I've been too busy crafting!!
Anyway, I'll gradually upload some of the things I've been doing and some of the new things I've been doing, but first: something I've literally just finished.
So, my husband and I have been doing this Alphabet Adventure (yes, we're still doing that!!) where we do an activity beginning with each letter of the alphabet. You can see some of the scrapbook pages of previous letters if you flick back through my blog, you know, if you're interested.
X was always going to be a hard letter, so we sort of cheated a little bit with the naming of it...! For this one, we went into London for a Hidden City treasure hunt called "The Hunt for the Cheshire Cat". First of all, I would totally recommend Hidden City - we had so much fun! I won't spoil it for you, but basically: we started at the National Portrait Gallery and we were then text a series of clues to our mobile phone, which we had to follow and text back the answer. If we had the right answer we'd be sent the next clue. We walked around a fair bit of London and saw some fabulous new places. Best of all, the route took us via some cafes and pubs so there were plenty of chances for a snack and a drink! =)
C
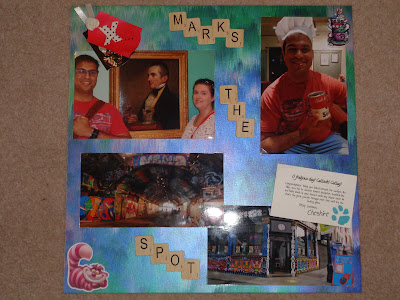 |
| X Marks the Spot! |
So when it came to scrapbooking this activity, I tried to include lots of "Alice in Wonderland" references. I chose the backing paper because it looked like the fur of the Cheshire Cat (the one that we were hunting for, not the Disney one. But as you can see, there's a Disney Cheshire Cat in the bottom corner too!). I arranged the letters in the style of "tumbling down the rabbit hole" and in the top right corner there's a plastic button of Alice sitting in some tea cups. I made the tag from black and red like the playing cards and threaded a charm on white ribbon. The charm replicates the White Rabbit's watch - which we were given at the start of the hunt, by the way! (Yes, I did want to keep it...!) I finished the tag off with a white rose button, which I picked because it reminded me of the part of the story when playing cards are painting the Queen of Heart's roses.
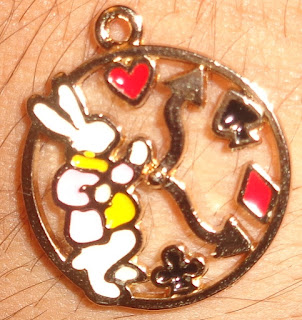 |
| The White Rabbit tag charm |
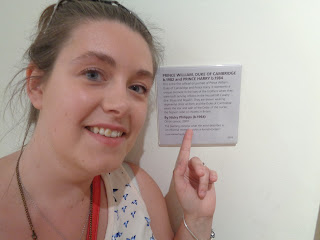 |
| Viewing my artwork in the National Portrait Gallery!! |
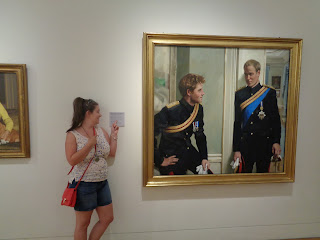 |
| I am seriously talented!! |
I think this one has been our most original Alphabet Adventure yet! You can check out the Hidden City website here:
https://cheshirecat.inthehiddencity.com/ They also do other themed trails; we may try the Sherlock Holmes one in the future.
The next Alphabet Adventures I need to scrapbook are H is for Harry Potter and F is for Festival, so stay tuned for those!
In the next few blog posts, I want to make up for my shameful silence and show you some of my recent cross stitches, knitting and baking. Also, I plan on getting back to dress making this month (the luxury that is school holidays!)


